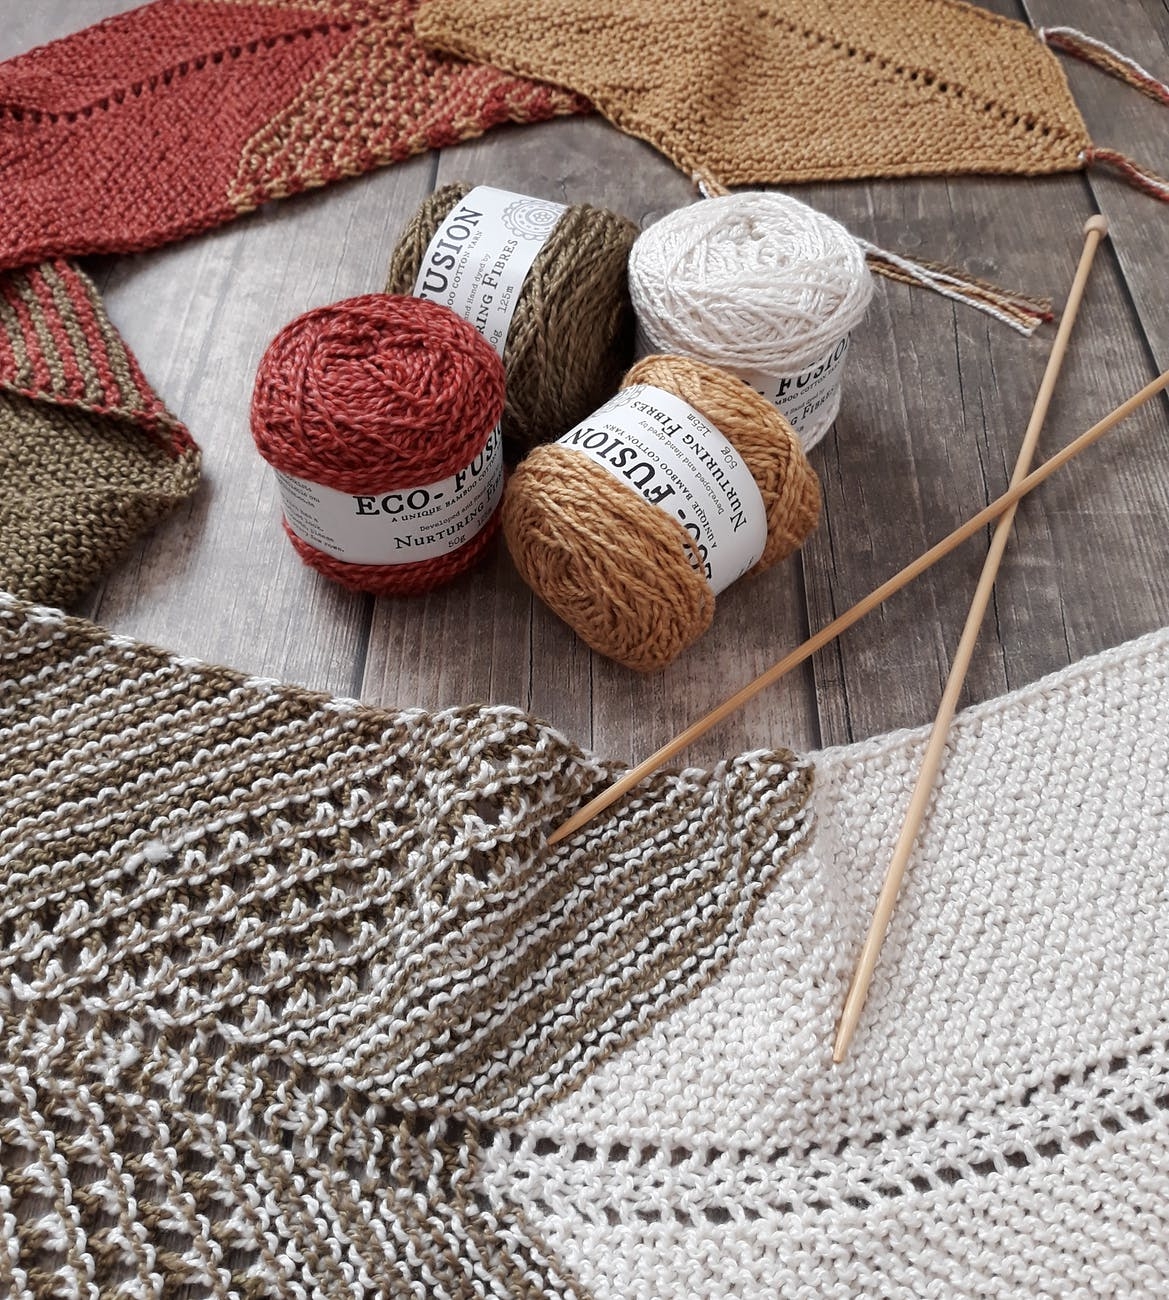
Chapter 3: Knitting Projects
Like crocheting, knitting is a method of stitching yarn together, just in a different style. Knitting consists of using long needles to form loops, keeping the stitches on the needles. If you’re feeling confident in your crochet skills, then you may be ready to undertake a knitting project.

Easy Knitting Projects
The following knitting projects are ideal for beginners. Like crochet patterns, most knitting patterns use abbreviations that help make them easier to read and avoid clogging up the steps with too many words. Here are some common knitting abbreviations that you might find when reading patterns:
K–knitK2tog–knit two stitches together
P–purlP2tog–purl two stitches together
YO–yarn over
Foldover Beanie
This beanie requires the most basic knitting skills and makes a great project for any beginner knitters.
Size: 20” in diameter (but can be stretched out)
Materials:
● Size 8 (5.o mm) knitting needles
● Set of four size 8 double-pointed knitting needles
● Any wool or wool blend yarn (100 grams)
● Yarn needle
Step 1: To start the base of the hat, cast on 80 stitches using circular knitting needles. P1, K4 to the end of the row. Join for knitting in the round. Knit 4 inches of K4, P1 rib.
Step 2: Start knitting K1, P4 rib. Knit 5 inches in the following order:
- Row 1: *K1, P1, P2tog, P1* repeat from * until the end of the row. When finished, you should have 64 stitches on your needles.
- Rows 2-3: Knit K1, P3 rib
- Row 4: *K1, P1, P2tog* repeat from * until the end of the row. When finished, you should have 48 stitches on your needles.
- Rows 5-6: Knit K1, P2 rib
- Row 7: *K1, P2tog* repeat from * until the end of the row. When finished, you should have 32 stitches on your needles.
- Rows 8-9: Knit K1, P1 rib
- Row 10: K2tog until you reach the end of the row. There should be 16 stitches left.
- Rows 11-12: Knit until the end of the row.
- Row 13: K2tog until you reach the end of the row. There should be only 8 stitches left.
Step 3: Cut the yarn and weave the long tail through the 10 remaining stitches. Pull it tight and weave it into the end inside of the beanie. Your beanie is now complete!
Knitted Infinity Scarf
Infinity scarves have never quite gone out of style, and with good reason. They’re fashionable, super comfy, and make great accessories. And if you’ve got some knitting skills, then why not make your own?
Size: Approximately 10” x 62”
Materials:
● Three colors of any bulky yarn (color 1, 2, and 3)
● 11/8 mm circular needles
● Slightly larger needle (for weaving ends)
Step 1: Using color 1, cast on 30 stitches and knit rows 1-8.
Step 2: Use color 2 to knit rows 9 and 10.
Step 3 (row 11): On the right side still using color 2. K1, YO2, *K1, YO2,* repeat between * across to the last two stitches, K1, YO2, K1.
Step 4 (row 12): On the wrong side. K1, drop 2 YO off the needle, *K1, drop 2 YO off the needle,* repeat between * across until the last stitch, K1.
Step 5: Knit rows 13 and 14.
Step 6: Using color 1, knit rows 15-22.
Step 7: Using color 3, knit rows 23-26.
Step 8 (row 27): K1, YO2, *K1, YO2,* repeat between * across to the last two stitches, K1, YO2, K1.
Step 9 (row 28): K1, drop 2 YO off the needle, *K1, drop 2 YO off of the needle,* repeat between * across until the last stitch, K1.
Step 10: Knit rows 29 and 30.
Step 11: Switch back to color 1. Knit rows 31-40.
Step 12: Switch to color 2. Knit rows 41-44.
Step 13 (row 45): K1, YO2, *K1, YO2,* repeat between * across to the last two stitches, K1, YO2, K1, turn.
Step 14 (row 46): K1, drop 2 YO off the needle, *K1, drop 2 YO off the needle,* repeat between * across until the last stitch, K1, turn.
Step 15: Switch to color 1. Work evenly using the garter stitch until the piece measures 62” long, or whatever your desired length is. Bind it off and join the ends using a mattress stitch. Your infinity scarf is complete!